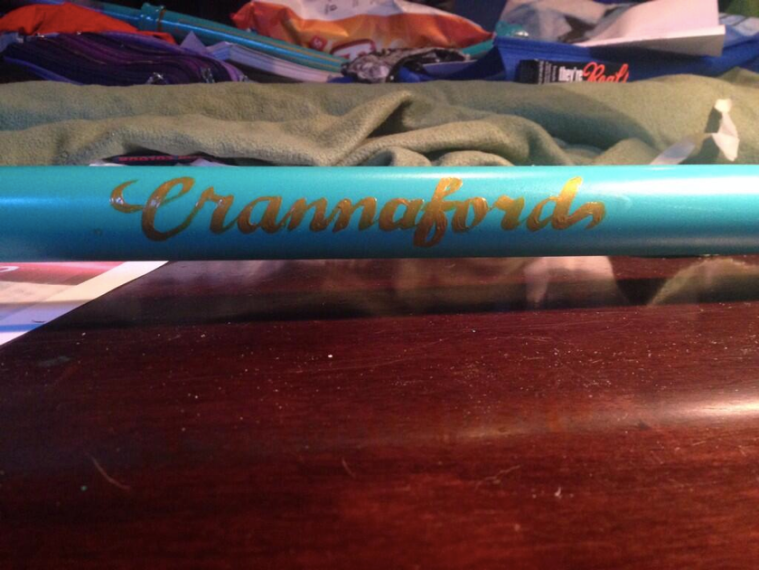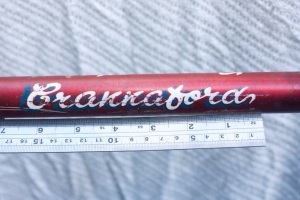

Danni is a bike mechanic, and she has a project – Mackenzie. Mackenzie is a Crannaford bike, which is an Australian make that is no longer, er, made. Danni asked me to do the lettering, guiding me to keep the spirit of the original logo, but not to sweat the small details – which I was glad of, since I don’t have any kind of lettering or design training, only calligraphy!
I was actually quite nervous about this one. Lettering on a curved surface is always difficult, to start with. I’ve also never worked with enamel before, so I wasn’t sure how it was going to flow and to what extent I’d be able to keep my letters looking like letters… and of course, it’s not so easy to throw out a vintage bike and start over as it is a sheet of watercolour paper. So I spent a lot of time measuring and planning before I dared touch it with the paint. I needed to write it twice – once on each side of the frame – and I needed it to be the same size and in the same place on each side, obviously, and I certainly wasn’t about to employ my usual approach of “let’s just wing it and see” on someone else’s project.

(The colour is called “lagoon blue,” I am told … but it looks pretty aqua to me.)
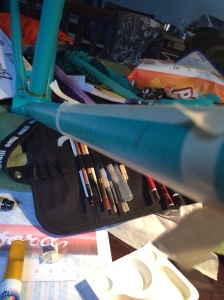
I used a small flat brush (necessitating a little bit of messing about to transfer the enamel from the container it came in, which already had a brush, similar to a bottle of nail polish) and then an 00 watercolour brush to try to tidy up the edges, wherever the gold went ragged. It took quite a long time, although I think it would go faster next time, now that I have more than zero experience with it.
The aesthetic Danni was after included brush strokes, so I didn’t have to worry about a perfectly smooth result – which is lucky, as I don’t know how I’d have achieved that.
We will see how it dries, but I’m quite pleased with the result. I won’t point out the sections that give me trouble – readers who are calligraphers will see them straight away, and readers who aren’t don’t need to know :)
In exchange for my painting, Danni gave my own bike a service, which I’m very grateful for – she rides like a dream now, smoother than ever before! My trip home should have taken ten minutes, but I had to do a few extra loops of the museum out of sheer pleasure. I think perhaps I’ll test out my newly-acquired bike painting skills on my own top tube …

So cars next, then on to Semi-trailers :-)
LikeLike
You got a semi-trailer in need of calligraphy, I’m your girl!
LikeLike
It’s official, there really is no end to your talent Moya.
LikeLike
I learned it all from sneakily watching you in class! ;)
LikeLike
I love this! You should make a business out of it. And you should paint my bike too.
LikeLike
I will paint your bike if you like! It was fun. And kind of cool doing something so permanent, and not delicate and papery.
LikeLike
That looks awesome! Great job Moz!
LikeLike